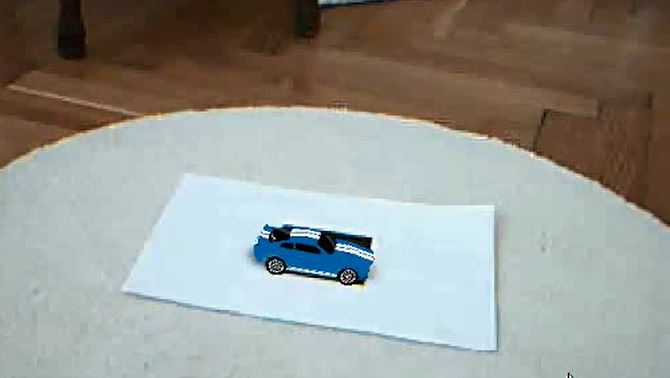
Mustang goes into augmented reality

Augmented Reality (AR) generated so much buzz in the community in the last few weeks that I had to give it a try!
I suppose most of you know what AR is, however just in case you don't, here's some basic facts from an Actionscript developer perspective: augmented reality uses pattern recognition to render 3D graphics on top of a video display. A pattern, also called marker, is a rectangular shape that you need to print and position in front of your camera. The stream from the camera is analyzed and the marker is used to determine the coordinate system of the world captured by the camera. This coordinate system is passed to a 3D engine which renders objects on top of the video image. Pretty simple, huh?
As far as Flash is concerned, the API for augmented reality is called FLARToolkit, which is an AS3 port of library written in Java and C done by Saqoosha. If you want to know more about this project, here's a great intro to the subject written by Mikko Haapoja.
In most of the cool AR projects I have seen so far [1] [2] the user is supposed to hold the marker and move it around in front of the camera and the 3d object follows the marker. I had a slightly different idea: why not just leave the marker and the camera in one place and use your keyboard to move around the 3d objects?
Some time ago I posted a demo featuring a Mustang that you could drive around a desert scenery. I thought it would be cool if I could now drive it around my bedroom floor. I was very surprised how easy it was to integrate my model with FLARToolkit and Papervision3D. All I had to do was to scale and rotate the model a bit and that's it!
The above video shows a recording of the experiment. If you have a webcam you can try it yourself. To do this, follow this instructions:
- Print the marker (You can alternatively display it on your iPhone)
- Click on this link, and choose "Allow" from the security dialog
- Point your webcam so that the marker is fully visible
- When the car is loaded (~250kb) it will appear on top of it
- Use cursor keys to drive the car and CTRL key to apply hand brake
- Have fun!
If you want to dig further here's the source code. The whole magic is in the FlarMustang.as class. The rest of the classes are an adaptation from the FLARToolkit basic example and some classes I used for the Mustang demo.
Unrelated note. In case you are reading this post in your RSS reader, you might not have noticed that I redesigned the blog. It's good to change from time to time! Among other stuff, there's a new list of previous 3D experiments and new links in the blogroll, so take a look.
